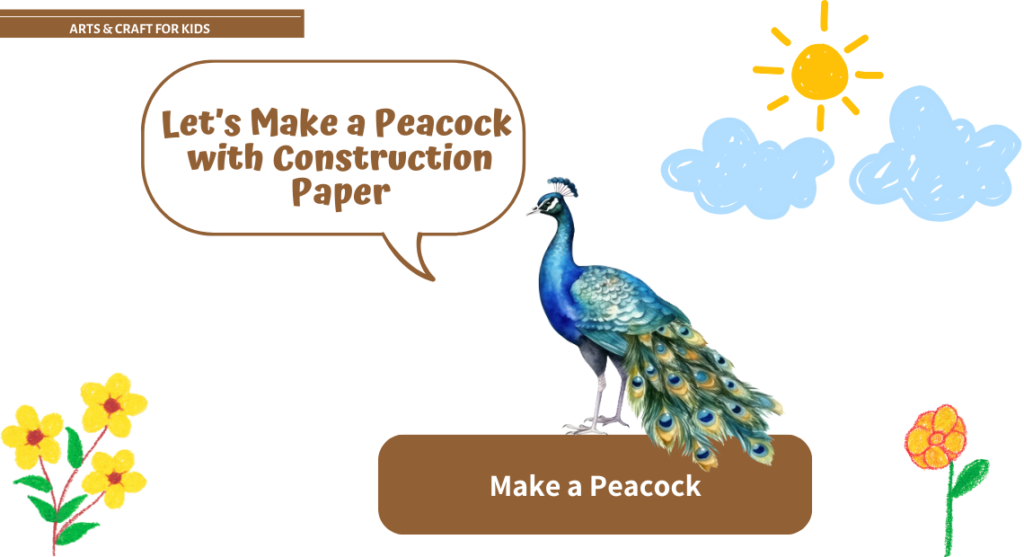
Peacocks are some of the most colorful and majestic birds in the world, known for their vibrant tail feathers. Making a peacock with construction paper is a fun and simple craft that lets young children explore shapes, colors, and textures. This craft is perfect for kids aged 3-5 because it encourages creativity while helping to develop fine motor skills. With a little guidance, your little ones will be able to create their own beautiful peacock masterpieces!
Materials Needed:
- Construction paper in a variety of colors (green, blue, yellow, orange, and other bright colors for the feathers)
- Scissors (adult supervision needed)
- Glue stick or liquid glue
- Pencil or marker (for tracing)
- Googly eyes (optional for added fun)
- A small piece of brown or black construction paper (for the peacock’s body)
- Yellow or orange paper (for the beak)
- Crayons or markers (optional, for adding details)
Step-by-Step Instructions to Make a Peacock:
Step 1: Create the Peacock’s Body
- Cut the Body: Take a piece of brown or black construction paper and cut out an oval or teardrop shape for the peacock’s body. This shape should be fairly large, as it will be the main part of the peacock.
- Shape the Head: On another piece of paper, cut out a small circle for the head. Glue it to the top of the body so the peacock’s head is attached to its body.
Step 2: Add the Peacock’s Beak
- Cut Out the Beak: Using yellow or orange construction paper, cut out a small triangle for the peacock’s beak.
- Attach the Beak: Glue the beak onto the front of the head, just below where the head meets the body.
Step 3: Make the Peacock’s Eyes
- Create the Eyes: If you have googly eyes, glue them to the peacock’s face. If not, you can cut out two small circles from white construction paper and draw pupils with a black marker.
- Add Details: Use a black marker to add a small dot in the center of each eye for the pupil. You can also draw a small curved line above each eye to create the peacock’s eyebrow or feather markings.
Step 4: Create the Peacock’s Feathers
- Cut the Feather Shapes: Take several pieces of bright colored construction paper (green, blue, yellow, and purple work great). Cut out long, oval-shaped feathers. You’ll need at least 6-8 feathers, but feel free to cut more for a fuller, more vibrant look.
- Decorate the Feathers (Optional): You can decorate each feather with fun patterns! Use crayons or markers to add dots, lines, or zigzag patterns on each feather to make them look even more colorful and intricate.
Step 5: Attach the Feathers to the Body
- Glue the Feathers: Start by gluing the feathers around the back of the peacock’s body. Arrange them in a fan shape, spreading them out so they look like the beautiful tail feathers of a peacock. You can glue the feathers directly onto the back of the body or make a small flap at the base of each feather to create a more three-dimensional look.
- Layer the Feathers: For a fuller tail, glue the feathers in layers, with the longest feathers in the back and smaller feathers toward the front. This will give your peacock’s tail the layered look of a real peacock’s plumage.
Creative Variations for Making a Peacock:
3D Peacock with Pom-Poms
- How-To: Add small colored pom-poms to the ends of each feather for an extra fun, 3D touch. This will make the feathers pop with color and texture!
- Why It’s Fun: The pom-poms add a tactile element to the craft, making it more interactive for young kids.
Glittery Peacock Feathers
- How-To: After cutting out the feathers, apply glue along the edges or over the entire surface of each feather, then sprinkle glitter on top. You can also use glitter glue for a mess-free option.
- Why It’s Fun: The glitter will make your peacock’s feathers sparkle and shine, adding some magic to the craft!
Peacock with Ribbon Feathers
- How-To: Instead of using just paper for the feathers, you can use ribbons or strips of colored fabric. Cut the ribbon into strips, glue them onto the back of the peacock, and let them flow freely like feathers.
- Why It’s Fun: The ribbons add a fun texture and movement to the craft, making it even more eye-catching.
Peacock with a Feather Crown
- How-To: Create a crown of feathers by gluing colorful feathers or paper cutouts onto a headband or paper strip. Then, place the crown on top of the peacock’s head.
- Why It’s Fun: This gives the peacock a regal and royal look, making it feel even more majestic!
Peacock with Colorful Paper Circles
- How-To: Instead of just cutting out traditional feather shapes, use different-sized circles from colorful construction paper and arrange them into a fan shape to create the peacock’s tail. You can even layer the circles for a fun, patterned effect.
- Why It’s Fun: The circles add a geometric twist to the peacock’s tail and help teach children about shapes and patterns.
Peacock in a Garden
- How-To: Add a background for your peacock by gluing some grass and flowers made of construction paper at the bottom of the peacock’s body. This will make the craft feel like a scene from nature.
- Why It’s Fun: This adds a storytelling element, allowing kids to imagine their peacock living in a beautiful garden or jungle!
Peacock with a Painted Tail
- How-To: Instead of paper feathers, use paint to create a colorful tail. Dip a paintbrush in different colors and make sweeping brushstrokes on the construction paper to create the peacock’s feathers.
- Why It’s Fun: Painting gives children the opportunity to mix colors and experiment with different brushstrokes and techniques, making the project even more artistic.
Why Making a Peacock Craft is Great for Kids:
- Fine Motor Skills: Cutting out shapes, gluing the pieces together, and adding details like eyes and beaks help strengthen fine motor skills and hand-eye coordination.
- Creativity: Crafting a peacock allows children to be creative, as they get to choose their favorite colors, design their feathers, and decorate their bird however they like.
- Animal Education: This craft is a fun way to introduce young kids to peacocks and their natural beauty. They can learn about the peacock’s tail feathers, colors, and why the peacock is often seen as a symbol of beauty and pride.
- Color Recognition: The vibrant colors involved in the craft will help children learn and practice recognizing and naming different colors.
- Storytelling: Once the peacock is made, children can engage in imaginative play, pretending that their peacock is dancing, flying, or exploring a colorful garden!
Crafting a peacock with construction paper is a delightful and colorful activity that will captivate young children. Not only is it easy to make, but it’s also an opportunity for kids to express their creativity through vibrant colors and fun designs. Whether you’re making a simple paper peacock or experimenting with glitter, ribbons, or even a painted tail, this craft will bring joy to any child who loves animals and vibrant colors. It’s a perfect craft for teaching about nature, birds, or just celebrating the beauty of creativity!
So, grab your construction paper, some glue, and let the crafting fun begin as you make your very own stunning peacock!


