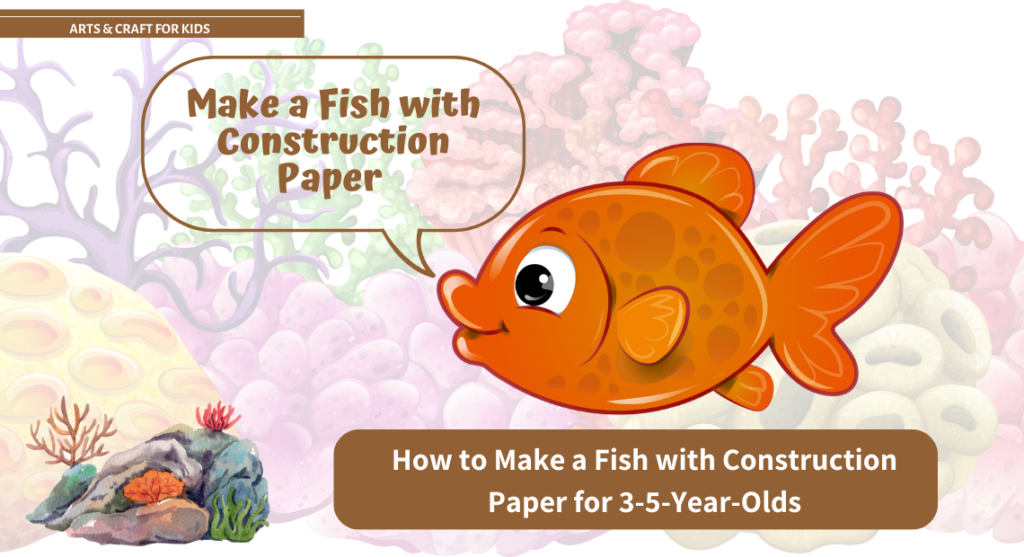
Crafting a fish with construction paper is a fantastic way to introduce young children to the beauty of the ocean while helping them develop fine motor skills, creativity, and problem-solving abilities. With just a few simple materials and steps, your little ones can create colorful and fun fish that they can be proud of. This easy craft is perfect for children aged 3-5 and offers endless opportunities for customization, allowing kids to explore shapes, colors, and textures.
In this article, we’ll guide you step-by-step on how to make a fish using construction paper, followed by creative variations to make the fish even more fun and exciting!
Materials You'll Need:
- Construction Paper: Various colors, including blue, green, yellow, red, orange, and any other fun colors for the fish.
- Scissors (child-safe)
- Glue Stick or Liquid Glue
- Markers, Crayons, or Colored Pencils (for adding details like scales, patterns, or facial features)
- Googly Eyes (optional, for a fun and wiggly touch)
- Pompoms or Glitter (optional, for added texture and sparkle)
- Paper Plate (optional, for a large fish base)
- Pencil (optional, for tracing shapes)
Step-by-Step Instructions to Make a Fish:
1. Create the Fish’s Body
- Cut Out an Oval Shape: Start by cutting out an oval shape from construction paper. This will be the main body of the fish. You can use any color for the body, but vibrant colors like yellow, orange, or blue are great choices to make the fish stand out.
- Glue the Body: Once the oval is cut out, glue it onto a piece of paper to form the base of your fish.
2. Add the Tail
- Cut Out a Triangle or Fan Shape for the Tail: To create the tail of the fish, cut a triangle shape from construction paper, or make a fan shape by cutting a small curve along the edge of a piece of paper.
- Glue the Tail: Attach the tail to one end of the oval body, with the wider end of the triangle or fan shape pointing out. This will give the fish a fun, flared tail.
3. Add the Fins
- Cut Out Small Triangles or Curved Shapes: For the fish’s fins, cut out two smaller triangles or curved shapes from construction paper. You can use a different color to make the fins pop or match the body for a more uniform look.
- Glue the Fins: Attach one fin to the top of the fish’s body and one to the bottom, positioning them near the center of the body. Make sure the fins are glued securely.
4. Create the Fish’s Face
- Cut Out a Small Circle for the Eye: For the eye, cut out a small circle from white construction paper. Then, cut an even smaller black circle for the pupil and glue it in the center of the white circle. Alternatively, you can use a googly eye for a fun, wiggly effect!
- Glue the Eye: Position the eye near the front of the fish’s body and glue it in place.
- Draw a Mouth: Using a marker or crayon, draw a smiling mouth for your fish. You can add a few little lines around the mouth to give the fish a playful expression.
5. Add Scales or Patterns (Optional)
- Cut Out Small Circles for Scales: For added detail, cut out tiny circles from construction paper to represent the fish’s scales. You can also use markers or crayons to add little designs like stripes, dots, or waves across the body.
- Glue the Scales: If you’re using circles, glue them in rows across the fish’s body. Arrange them in overlapping layers to give the fish a textured look. You can also color in the scales with markers or crayons.
6. Add Extra Details (Optional)
- Add Glitter or Pompoms: For extra sparkle and texture, you can glue small pompoms, glitter, or sequins onto the fish’s body to make it shimmer and shine. This is a fun way to give the fish a more magical or realistic feel.
- Create Ocean Background (Optional): If you want to take the craft further, you can cut out seaweed, bubbles, or a coral reef from construction paper to create an underwater scene for your fish to live in. This is a great way to introduce themes about the ocean to young children.
Creative Variations for Making a Fish:
Here are some fun ways to customize and enhance your fish craft, turning a simple construction paper fish into something extra special!
Fish in a Rainbow of Colors
- How-To: Use a variety of colors for the fish’s body, tail, and fins. You can create a rainbow-colored fish by cutting sections of different colors and gluing them together, creating a striped fish.
- Additional Touch: Add a bright, colorful tail or fins that contrast with the body to make the fish extra vibrant and eye-catching.
3D Fish
- How-To: Make your fish stand out by adding a 3D effect. Instead of flat pieces, fold or curl the fins, tail, and body to give the fish dimension. You can even create a layered fish by gluing extra fins or tails on top of the body.
- Additional Touch: Use a piece of crinkled paper or tissue paper to add texture to the fish’s body, making it feel more realistic or whimsical.
Fish with Glitter and Sparkles
- How-To: Use glitter to decorate the fish’s scales or tail, adding a shimmering effect. You can glue glue to the fish’s body, then sprinkle glitter on top.
- Additional Touch: Mix different colors of glitter for a multi-colored fish, or use glitter glue for a mess-free sparkly finish.
Fish with a Realistic Texture (Using Fabric or Yarn)
- How-To: For a more tactile craft, glue fabric or yarn onto the fish’s body to mimic scales or fins. Soft felt fabric works well for adding a plush texture to the fish’s body.
- Additional Touch: Create a fuzzy tail or fins using yarn or cut fabric into a fan shape to represent a more detailed tail.
Fish with a Big Smile (Happy Fish)
- How-To: Instead of a regular fish, create a fish with an exaggerated, big smile! Use a wide curve for the mouth and draw big, friendly eyes. This will give the fish a playful, happy appearance.
- Additional Touch: Add extra details like rosy cheeks or sparkles around the eyes to make the fish look even more cheerful.
Fish with a Scaly Design (Using Paper Stamps)
- How-To: Create textured scales by using a paper stamp. Cut small, identical shapes from construction paper (such as half circles or small ovals) and glue them in overlapping rows to make the fish look like it’s covered in real scales.
- Additional Touch: Use a variety of colors for the scales to make the fish even more visually interesting.
Catfish (With a Whisker Effect)
- How-To: Make a catfish by adding long whiskers on each side of the face. Cut thin strips of construction paper (or use pipe cleaners) and glue them near the fish’s mouth to simulate whiskers.
- Additional Touch: Draw small bubbles coming from the catfish’s mouth to show it’s underwater, or give the fish a wider, flatter body shape for a more realistic look.
Fish Mask
- How-To: Turn your fish into a wearable mask! Cut out the fish’s face from a large piece of construction paper or a paper plate, leaving space for eyes. Add fish fins and a tail to the sides and bottom, and cut out eye holes for the child to wear it as a mask.
- Additional Touch: Decorate the fish mask with shiny materials like sequins or foam stickers to make it sparkle and shine!
Fish with a Heart Tail (Valentine’s Day Theme)
- How-To: For a cute and heart-themed fish, cut out a tail in the shape of a heart. Use red or pink paper to create the tail, giving your fish a Valentine’s Day twist.
- Additional Touch: Add small hearts around the fish’s body, or use heart-shaped scales for an even more themed look!
Underwater Scene with Multiple Fish
- How-To: Make a whole school of fish swimming together. Create multiple fish with different shapes, sizes, and colors. Arrange them on a large sheet of paper, and add background elements like seaweed, bubbles, or coral.
Additional Touch: Let kids make a “fish family” with baby fish, parent fish, and other underwater creatures like crabs or turtles!
Why Kids Love This Craft:
This fish craft is ideal for young children because:
- It’s simple and uses basic shapes like ovals, triangles, and circles that are easy for little hands to cut and assemble.
- The process of gluing, cutting, and coloring helps develop fine motor skills and hand-eye coordination.
- There’s a lot of room for creativity, allowing children to make their fish unique with different colors, patterns, and textures.
- It provides an opportunity to learn about marine life and ocean animals in a fun, hands-on way.
Making a fish with construction paper is a fun, creative, and easy craft that kids will love. Whether you’re making a colorful fish, a textured one, or even a school of fish, this project is a perfect way to engage young children while helping them develop important artistic skills. And the best part? The possibilities are endless—so let your little artists get creative with their fish designs and see where their imaginations take them!


