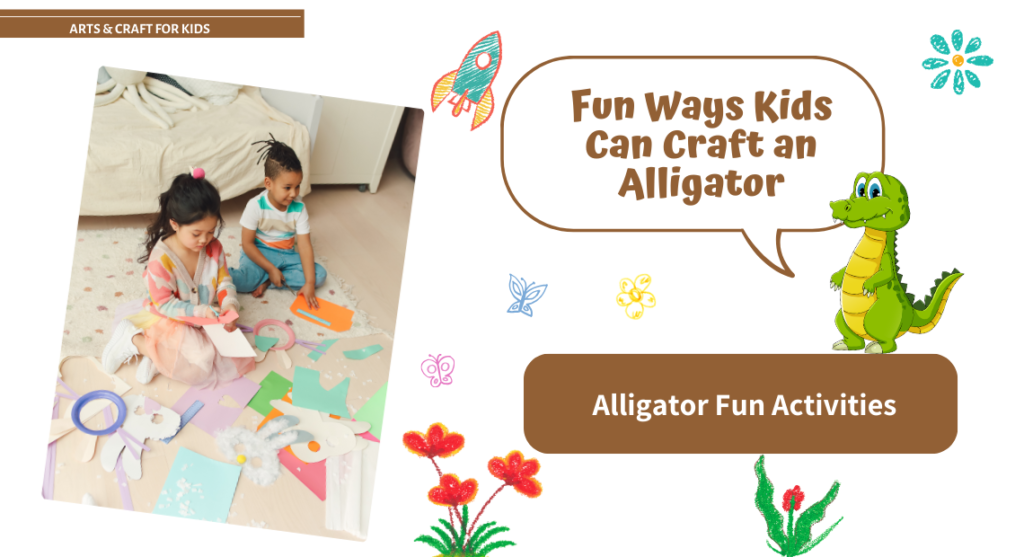
Alligators are fascinating creatures with their long bodies, sharp teeth, and strong tails. Making an alligator craft out of construction paper is a fun and educational way for young children to learn about these amazing animals while engaging in a creative activity. This simple, step-by-step guide will help you and your child create a fun alligator from construction paper.
Materials Needed:
- Green construction paper (for the alligator’s body)
- Light green or yellow construction paper (for the belly and teeth)
- Black marker or crayon (for eyes and details)
- Scissors (with adult supervision)
- Glue stick or liquid glue
- Optional: Googly eyes (for a fun, 3D effect)
- Optional: White paper (for extra teeth detail)
Step-by-Step Instructions to Make an Alligator:
Step 1: Cut Out the Alligator’s Body
- Cut a Long Rectangle or Oval Shape: Start by cutting a long oval or rectangle from the green construction paper. This will form the main body of your alligator. Make it around 6-8 inches long (depending on the child’s skill level).
- Tip: You can round the edges to give it a more natural alligator shape.
Step 2: Cut the Alligator’s Head and Tail
- Cut a Triangle for the Tail: Cut a small triangle from the green construction paper to form the alligator’s tail. You can attach it to the end of the body by gluing it onto the point where the oval or rectangle ends.
- Cut the Head: Cut a small rectangle or oval shape for the alligator’s head. You can make the top of the head slightly pointed to resemble the alligator’s snout.
Step 3: Add the Belly
- Cut the Belly Shape: Cut a smaller oval or rectangle from the light green or yellow construction paper to form the alligator’s belly. This will be glued to the bottom of the alligator’s body.
- Tip: You can make the belly slightly smaller than the body so it gives a more realistic look.
Step 4: Add the Alligator’s Teeth
- Cut Teeth from White Paper: Cut small, triangular teeth from white paper. You’ll need about 4-6 small triangles for each side of the alligator’s mouth.
- Glue the Teeth: Attach the teeth along the top and bottom edges of the alligator’s mouth (the head portion). Make sure the teeth are pointed outward to look like an alligator’s sharp teeth.
- Tip: If you have googly eyes, you can glue them to the alligator’s head for a fun effect.
Step 5: Add the Eyes and Details
- Draw the Eyes: Use a black marker or crayon to draw two small eyes on the alligator’s head, or glue on two googly eyes if you want to give your alligator a more playful, 3D look.
- Detail the Alligator: Use a black marker to add nostrils, lines, and details like scales or wrinkles on the alligator’s body for added texture. You can also draw a smile or a line on the snout to give it a more realistic look.
Step 6: Final Assembly
- Glue All the Pieces Together: Once all the pieces are cut out, start gluing them together. First, glue the belly onto the bottom of the body. Then attach the head to one end of the body and the tail to the other end.
- Add the Final Touches: After the glue has dried, you can add any final decorative touches, such as more texture on the body or extra details around the eyes and teeth.
Creative Variations for Making an Alligator:
3D Alligator
- How-To: For a 3D effect, you can cut the alligator’s body and head from cardboard instead of construction paper. Glue small pieces of rolled-up paper to the tail or under the body to make it stand up.
- Why It’s Fun: The 3D effect makes the alligator more interactive. Kids can make it “walk” across the table or play with it as a puppet.
Finger Puppet Alligator
- How-To: Cut out the alligator’s body and head, and glue them to the top and bottom of a small strip of paper (long enough to fit around a finger). Once dry, kids can wear their alligator as a finger puppet.
- Why It’s Fun: Kids can use their finger puppet alligators for pretend play and storytelling.
Tactile Alligator
- How-To: Add different textures to the alligator’s body. For example, glue small pieces of fabric, felt, or textured paper onto the alligator’s back to create a bumpy or scaly effect. You can also use buttons or foam shapes for added texture.
- Why It’s Fun: The sensory experience of different textures makes the craft more interactive and tactile for young children.
Alligator with a Crocodile Friend
- How-To: Create two similar alligators, but differentiate them by using slightly different colors of green construction paper (one light green, the other dark green) and adjusting the size of the heads. Let kids create a scene where the alligators are friends or part of an adventure!
- Why It’s Fun: Creating a crocodile and alligator duo gives kids the chance to learn about the differences between the two animals while having more fun with the craft.
Alligator in a Swamp Scene
- How-To: Cut out more construction paper shapes such as water, plants, and rocks to create a fun swamp scene for your alligator to sit in. Use blue construction paper for water and green for reeds and plants.
- Why It’s Fun: Creating a whole swamp scene adds an extra layer of creativity and introduces kids to the idea of where alligators live. They can play with their alligator in the setting they made!
Why Making an Alligator Craft is Great for Kids:
- Fine Motor Skills: Cutting, gluing, and drawing all help develop fine motor skills and hand-eye coordination in young children.
- Creativity: This craft allows kids to use their imaginations to add personal details and make the alligator as unique as they want.
- Learning About Nature: Making an alligator provides a fun way to introduce kids to the animal world and learn about where alligators live, what they eat, and how they move.
- Hands-On Play: Kids can play with their alligator after the craft is complete, turning it into a toy for storytelling and imaginative play.
Creating an alligator from construction paper is an enjoyable and simple craft that kids will love. With just a few basic materials, children can create their own version of this fascinating animal while developing their crafting skills. Whether you stick to the basic design or explore some fun variations, crafting an alligator is a great way to encourage creativity, play, and learning for young children.


